
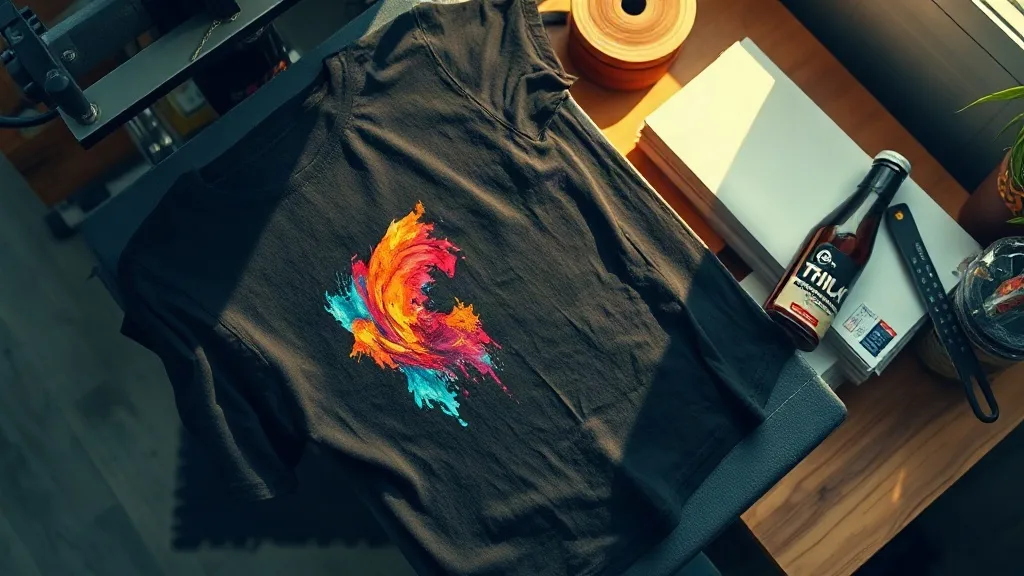
Most people who order dtf transfers for the first time expect the hard part to be the printing. In practice, the print is usually fine. What decides whether a shirt survives twenty washes with a crisp graphic is the blank underneath it. I learned this the slow way, after peeling a fully cured transfer off a cheap tee that had been washed exactly twice. The ink had bonded perfectly to a fabric that had no intention of holding onto it.
Since then I have pressed a lot of transfers onto a lot of garments, and one blank keeps coming back into rotation: shaka wear. It is not the fanciest name in blank apparel, but it behaves predictably under heat, which is exactly what dtf printing rewards. This guide covers what makes the pairing work, how to set up your press, and the small details that separate a print that lasts from one that fades into a gray ghost after a month.
Why DTF printing changed the small-batch game
Direct-to-film is a printing method where your design is printed onto a special film in mirror image, dusted with adhesive powder, and cured. The result is a flexible transfer sheet you can store flat and press onto almost any fabric whenever you need it. No screens, no minimum order, no color separation fees.
That flexibility is the whole appeal. A screen printer charging setup fees for six shirts makes no sense for a weekend market stall or a team fundraiser. With dtf, you can print one shirt or two hundred with the same per-unit cost and the same color accuracy. Photographic gradients, fine line art, and full-color logos all translate without the halftone compromises you get from vinyl.
The catch is that DTF transfers are only as good as their bond to the garment. The adhesive powder melts into the fabric surface, so the weave, fiber content, and surface treatment all matter. A smooth, tightly knit cotton gives the adhesive plenty to grab. A loose knit with a heavy silicone finish gives it almost nothing.
What makes Shaka Wear a reliable blank for transfers
Shaka Wear built its reputation on heavyweight cotton basics, mostly tees, hoodies, and crewnecks aimed at streetwear and workwear customers. The brand leans toward denser fabrics, boxy fits, and a fairly consistent stitch quality across its range. For transfer work, three traits stand out.
Fabric weight and density
Heavier cotton holds a pressed transfer better than thin jersey. The adhesive has more fiber surface to anchor into, and the fabric resists the slight stretching that happens every time someone pulls a shirt over their head. On a lightweight tee, that stretch works the print loose at the edges over time. On a denser blank, the print stays put.
Consistent surface finish
Some budget blanks arrive with a slick, almost waxy hand feel from finishing agents. Transfers pressed onto those surfaces can look fine straight off the press and then lift at the corners after the first wash. In my experience, Shaka Wear blanks come out of the bag with a matte, dry surface that takes adhesive well once you pre-press to remove moisture.
Color depth under the ink
DTF transfers carry a white ink layer, which means you can print light designs on dark garments. But that white layer is not infinitely opaque. On a deep black or navy blank, a thin white underbase can let the garment color bleed through and mute the design. Denser, darker blanks with good dye consistency keep the contrast clean, which is why heavyweight black tees are the most common pairing I see.
Setting up your press for a clean result
Press settings are where most first attempts go wrong, and the fix is almost always the same: more pressure, less time, and a proper pre-press. Here is the routine I use on standard cotton blanks.
- Pre-press the garment. Ten seconds at press temperature flattens the weave and drives off ambient moisture. Skipping this step is the single most common cause of a blotchy, uneven transfer.
- Set temperature around 150 to 160 degrees Celsius. Too hot and the adhesive powder over-cures before it bonds; too cool and it never fully melts.
- Use firm, even pressure. Medium-heavy pressure on a full-size platen. If you can see the platen outline through the shirt, you are close.
- Press for 10 to 15 seconds. Longer is not better here. Excess time can cause the carrier film to wrinkle and transfer that wrinkle into the print.
- Peel cool or warm, depending on your film. Check your supplier's instructions. Cold peel films need the sheet to cool completely; warm peel films come off within a few seconds.
- Post-press with a cover sheet. Five to ten seconds through a Teflon sheet or parchment sets the adhesive fully and smooths any texture from the garment weave.
If you are pressing onto a poly blend, drop the temperature by about 10 degrees and shorten the dwell time. Polyester can scorch or develop a shine mark under high heat, and the dye in some poly fabrics can migrate into the transfer over time.
The wash test that tells you the truth
A print that looks perfect on the press tells you almost nothing. The real test happens in the laundry. My standard check is to wash a sample shirt three times inside out in cold water, tumble dry low, and inspect the edges after each cycle.
What you want to see is a print that stays flat with no lifting at the perimeter. What you do not want is curling corners, a chalky white halo around the design, or cracks running through the ink. Each of those points to a different problem: lifting means insufficient pressure or a contaminated fabric surface, a white halo usually means the film was peeled too hot or too fast, and cracking often traces back to over-stretching the garment before the adhesive fully set.
One detail worth knowing: DTF prints do not need special detergent, but fabric softener works against you. It coats fibers in a slick film that gradually weakens the adhesive bond. If you are selling shirts, a small care card saying "wash inside out, skip the softener" protects both the print and your reviews.
Where this pairing makes the most sense
The combination of dtf transfers and a sturdy cotton blank fits a specific set of use cases better than alternatives do.
- Small-batch merch for musicians and creators. Print ten shirts for a show, reprint the same design six months later without redoing setup.
- Team and event apparel. Names and numbers change per order, and DTF handles variable data without extra cost.
- Sampling before a bulk run. Press one shirt on a blank you are considering, wash it five times, then commit to a full order.
- Streetwear drops with detailed artwork. Gradients, fine lines, and photographic elements all hold up on a heavyweight base.
Where it makes less sense is on performance fabrics with heavy moisture-wicking coatings. Those finishes are designed to repel liquids, and adhesive counts as a liquid during the melt phase. Expect weaker bonds there regardless of the blank brand.
Common mistakes and how to sidestep them
Pressing on a damp shirt
Cotton absorbs humidity from the air. A shirt that sat in a garage overnight can carry enough moisture to steam during pressing, which traps gas under the film and creates bubbles. Always pre-press.
Reusing carrier film
Some people try to press the same sheet twice to save money. The adhesive is spent after one press. The second attempt will look faded and will not survive a wash.
Ignoring the seams
Pressing across a side seam or a pocket lip creates uneven pressure. The print over the seam gets less bond and lifts first. Use a pressing pillow or reposition the design to avoid thick seams.
Stacking transfers before they cool
Fresh transfers stacked on top of each other can stick together and pull adhesive off the surface. Lay them flat and let them cool completely if you are storing them.
Frequently asked questions
Can you apply DTF transfers to 100 percent polyester Shaka Wear pieces?
Yes, with adjustments. Lower the press temperature by roughly 10 degrees Celsius, shorten the dwell time, and use light pressure. Watch for dye migration on dark poly garments, which can tint the white underbase over several months.
How long do DTF prints actually last on a cotton tee?
With correct pressing and normal care, most prints hold up for dozens of washes before showing noticeable wear. The variables that shorten that lifespan are hot water, high dryer heat, and fabric softener, not the print method itself.
Do I need a commercial heat press, or will an iron work?
An iron can produce a usable result for a personal project, but it cannot deliver even pressure across a large area. For anything you plan to sell or gift, a clamshell or swing-away press with a pressure gauge is worth the investment.
Is DTF cheaper than screen printing for small orders?
For runs under roughly two dozen pieces, DTF usually wins because there are no setup fees or color charges. Above that volume, screen printing tends to become cheaper per unit, especially for simple one or two color designs.
What is the best way to store unused transfers?
Keep them flat, cool, and dry, away from direct sunlight. Humidity is the main enemy, since it can activate the adhesive powder prematurely. A sealed bag with a desiccant pack works well for long-term storage.
The bottom line on blanks and transfers
Choosing a garment is not a minor detail in the DTF workflow. It is half the result. A dense, matte cotton blank like the heavyweight tees from Shaka Wear gives your transfer the surface it needs to lock in, and a disciplined press routine does the rest. Get those two things right and the print will outlast the trend that inspired it.