
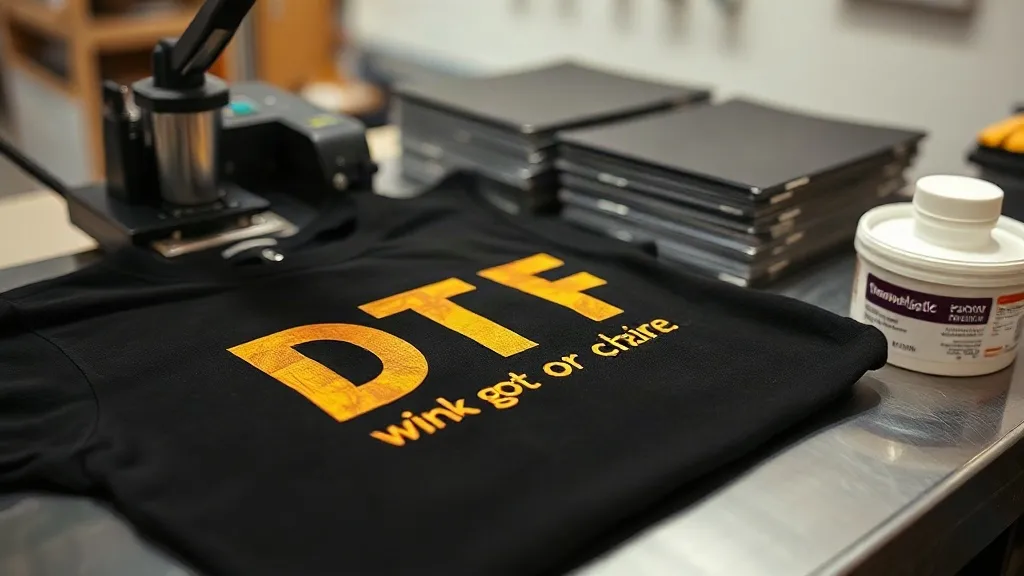
When you first venture into the world of custom apparel printing, the options can feel overwhelming. Screen printing, heat transfer vinyl, sublimation, and direct-to-garment each have their own strengths and quirks. But there is one method that has been quietly revolutionizing the industry for small and large shops alike: dtf transfers. If you have been hearing the buzz but are not sure where to start, this guide will walk you through everything you need to know to get professional, durable results on almost any fabric.
What Are DTF Transfers?
DTF stands for direct-to-film. Unlike DTG (direct-to-garment) printing, which prints directly onto the fabric, DTF printing involves printing your design onto a special film, applying a thermoplastic powder adhesive, and then heat-pressing the film onto the garment. The result is a vibrant, stretchable, and highly durable print that adheres to cotton, polyester, blends, and even tough fabrics like nylon and canvas.
The process might sound simple, but the details matter. From selecting the right film to dialing in your press settings, every step influences the final quality. Let us break it down.
The DTF Printing Process Step by Step
1. Design Preparation
Start with a high-resolution image. DTF printing can handle intricate details and gradients, but low-resolution files will still look pixelated. Make sure your design is in CMYK color mode and has a transparent background if you want the garment color to show through. Also, consider adding a white underbase layer in your design software; DTF printers automatically print a white layer behind the color, but having control over its density can help with opacity on dark garments.
2. Printing onto Film
Load your DTF film into the printer, ensuring the coated side faces the printhead. The printer lays down the color layer first, followed by the white layer. Some advanced printers allow you to adjust the white ink density, which is crucial for vibrant prints on dark fabrics. Once printed, the film is wet with ink and needs to be powdered.
3. Powder Application
While the ink is still wet, sprinkle the thermoplastic powder evenly over the printed area. Shake off the excess and return it to the container for reuse. The powder adheres to the wet ink and will melt during the curing stage to form a flexible adhesive layer. This step is critical: too little powder and the transfer will not bond; too much and you get a stiff, plasticky feel.
4. Curing
Place the powdered film in a curing oven or under a heat gun until the powder melts and becomes glossy. The temperature should be around 160-170°C (320-340°F) for about 2-3 minutes. Overcuring can make the film brittle, so keep an eye on it. Once cured, the transfer is ready to be pressed or stored for later use.
5. Heat Pressing
Set your heat press to 160°C (320°F) with medium pressure. Place the transfer face down on the garment, cover with a protective sheet or parchment paper, and press for 10-15 seconds. Peel the film off while it is still warm (warm peel) or after it cools (cold peel) depending on the film type. Always follow the film manufacturer's instructions, as peel methods vary.
Choosing the Right DTF Film and Powder
Not all films are created equal. There are two main types: hot peel and cold peel. Hot peel films allow you to remove the film immediately after pressing, which speeds up production. Cold peel films require you to wait until the transfer cools completely before peeling, which can result in a smoother finish but slower turnaround.
Powder also comes in different mesh sizes. Finer powders (80-100 microns) give a softer hand feel and are ideal for detailed designs. Coarser powders (150-200 microns) are more forgiving and work well for bold, simple graphics. Experiment to find what suits your typical orders.
Fabric Compatibility: What Works Best with DTF?
One of the biggest advantages of dtf printing is its versatility. It adheres well to:
- 100% cotton
- Polyester and poly blends
- Tri-blends
- Nylon
- Canvas and denim
- Even some leathers (test first)
However, fabrics with heavy silicone treatments or water-repellent finishes may prevent proper adhesion. Always test on a scrap piece before committing to a full run. Also, stretchy fabrics like spandex require a stretchable transfer; DTF powder provides elasticity, but overstretching can cause cracking over time.
Common DTF Problems and How to Fix Them
Transfer Not Sticking
If the transfer peels off after pressing, the likely culprits are insufficient pressure, too low temperature, or too short a press time. Increase pressure to medium-firm, verify the temperature with an infrared gun, and extend the press time to 15-20 seconds. Also, ensure the garment is free of moisture and wrinkles.
Patchy or Dull Colors
This often happens when the white ink layer is too thin or the powder did not melt completely. Check your printer's white ink settings and increase the density if needed. For curing, make sure the powder turns glossy and no grainy texture remains.
Film Sticking to the Press
Use a Teflon sheet or parchment paper between the press and the transfer. Also, make sure the film is not overheated; if the film curls or melts, reduce the temperature slightly.
Why DTF Transfers Are a Game-Changer for Small Shops
For startups and small print shops, DTF offers a low barrier to entry. You do not need screens, chemicals, or a huge space. A decent DTF printer, a heat press, and a curing oven (or even a heat gun for small batches) can get you started. Plus, you can print one-off designs without setup costs, making it perfect for custom orders, samples, and small batches.
And when you need supplies or services, searching for dtf transfers near me can connect you with local providers who can print and ship transfers quickly, saving you the hassle of maintaining your own printer if you prefer to outsource.
DTF vs. Other Printing Methods
How does DTF stack up against screen printing, DTG, and vinyl?
- Screen printing: Cheaper for large runs but requires setup and is not cost-effective for small batches. DTF wins for short runs and complex designs.
- DTG: Great for cotton but limited on polyester and dark colors. DTF works on almost any fabric and produces vibrant colors on darks.
- Heat transfer vinyl (HTV): Good for simple text and shapes but not for photographic images. DTF handles full-color, detailed graphics with ease.
Tips for Scaling Your DTF Production
As your order volume grows, efficiency becomes key. Consider a gangsheet approach: arrange multiple designs on a single large film to maximize usage and reduce waste. Invest in a roll-to-roll DTF printer and a conveyor curing oven to streamline the process. Also, keep a log of press settings for different fabrics so you can replicate results quickly.
Frequently Asked Questions About DTF Transfers
How long do DTF transfers last?
With proper application and care, DTF prints can last 50+ washes. Turn the garment inside out and wash in cold water; avoid harsh detergents and high heat in the dryer.
Can I use DTF on dark shirts?
Absolutely. DTF is particularly effective on dark fabrics because the white underbase makes colors pop. Just ensure your white ink layer is thick enough.
What is the best temperature for pressing DTF transfers?
Most DTF films recommend 160°C (320°F) with medium pressure for 10-15 seconds. Always check the film's specific instructions.
Do I need a special printer for DTF?
Yes, DTF requires a printer with DTF ink and a film feeding mechanism. However, you can also buy pre-printed transfers from suppliers if you prefer not to invest in equipment.
Can DTF transfers be applied to mugs or other items?
DTF is primarily for textiles, but with special adhesives and careful application, it can be used on some hard surfaces. However, it is not a replacement for sublimation on ceramics.
Whether you are a seasoned pro or just starting, mastering DTF transfers can open up new possibilities for your custom apparel business. With the right techniques and a bit of practice, you will be producing vibrant, durable prints that keep customers coming back.