
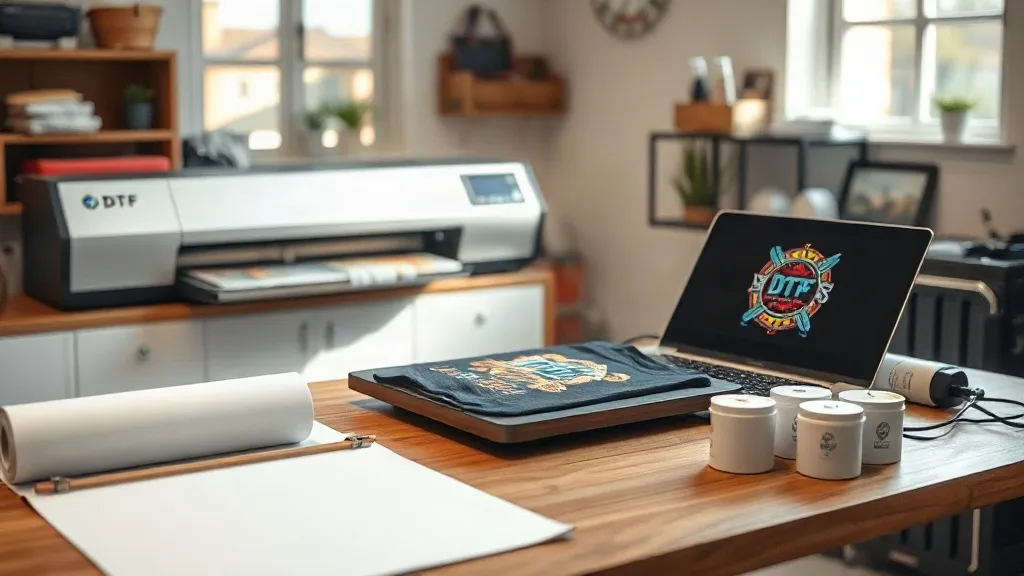
When you first dive into the world of custom apparel, the options can feel overwhelming. Screen printing, vinyl, sublimation, and now dtf transfers. Each method has its place, but DTF (Direct to Film) has quickly become a favorite for small shops and hobbyists who want vibrant, durable prints without the steep learning curve or hefty equipment costs. If you've been curious about adding DTF to your workflow, this guide will walk you through the entire process, from understanding the basics to troubleshooting common issues. By the end, you'll have a solid grasp of how to produce professional-quality dtf prints that keep customers coming back.
What Are DTF Transfers and Why They Matter
DTF printing is a digital printing method where your design is printed onto a special film, coated with a hot-melt adhesive powder, and then heat-pressed onto fabric. Unlike other methods, DTF works on almost any fabric, including cotton, polyester, blends, and even nylon. This versatility is a game-changer for shops that handle diverse orders. You no longer need to stock different types of vinyl or worry about whether a garment is 100% cotton. The process is straightforward: design, print, powder, cure, and press. The result is a soft, stretchable print that holds up wash after wash.
The Growing Popularity of DTF
Why has DTF become so popular? For starters, it eliminates the need for weeding, which saves hours of tedious work on intricate designs. It also produces full-color prints without the color limitations of vinyl. And because the film is flexible, you can print on hard-to-decorate areas like sleeves, pockets, and hoods. Small businesses appreciate that DTF requires a relatively low initial investment compared to screen printing setups. With a decent printer, a heat press, and quality supplies, you're ready to go. Many entrepreneurs start with a single printer and scale up as demand grows.
Getting Started: Essential Equipment and Supplies
Before you dive into printing, you'll need the right tools. Here's a breakdown of what you'll need to set up your DTF station.
- DTF Printer: A dedicated DTF printer with white ink capability is essential. You can convert some inkjet printers, but a purpose-built model ensures reliability.
- DTF Film: Available in sheets or rolls, both cold and hot peel. Cold peel is more forgiving for beginners.
- Adhesive Powder: This is the magic ingredient that bonds the ink to the fabric. Choose a quality powder to avoid cracking.
- Heat Press: A reliable heat press with accurate temperature and pressure control is crucial for consistent results.
- Curing Oven or Heat Gun: To melt the powder evenly. A dedicated curing oven is ideal, but a heat gun works for small batches.
- Design Software: Adobe Photoshop, Illustrator, or free alternatives like GIMP or Inkscape for preparing your artwork.
Investing in quality supplies from the start will save you headaches later. Cheap film can cause jams, and low-quality powder may lead to poor adhesion. Many suppliers offer starter kits that bundle everything you need, which is a convenient way to begin.
Step-by-Step DTF Printing Process
Now let's walk through the actual printing process. Follow these steps to ensure a smooth workflow.
1. Preparing Your Artwork
Start with a high-resolution image (300 DPI is standard) and ensure it's in CMYK color mode. If your design has white areas, you'll need to create a white underbase layer. This is where DTF differs from other methods: the white ink is printed first, then the colors on top. In your design software, set up a separate spot layer for white. Most RIP software that comes with DTF printers handles this automatically, but it's good to understand the concept. Also, mirror your design horizontally before printing, as the film will be flipped when pressed.
2. Printing onto Film
Load your DTF film into the printer, ensuring it's the correct side up (usually the matte side). Send your design to print. The printer will lay down white ink first, followed by the colors. Some printers have a setting to print a white layer both under and over the colors to increase opacity on dark garments. This is called a "sandwich" mode and is useful for vibrant prints on black or navy shirts. Once printed, the film will be wet with ink. Handle it carefully to avoid smudging.
3. Applying Adhesive Powder
While the ink is still wet, sprinkle the adhesive powder evenly over the printed area. You can use a powder shaker for large batches or a simple spoon for small runs. Make sure the entire design is covered, then shake off the excess back into a container for reuse. The powder should stick only to the wet ink. If you see powder clinging to the clear film, gently brush it off. This step is critical for the durability of the transfer.
4. Curing the Powder
Now you need to melt the powder. You can use a curing oven set to around 160-170°C (320-340°F) for a few minutes, or a heat gun held at a distance. The powder will turn from a matte white to a glossy, slightly translucent finish. Be careful not to overheat, as this can cause the film to warp or the powder to scorch. Once cured, the film can be stored flat in a cool, dry place for later use.
5. Heat Pressing onto Fabric
Preheat your heat press to 160°C (320°F) and set the pressure to medium. Place your garment on the press, then position the transfer film on top with the design facing up. Cover with a protective sheet or parchment paper to prevent sticking. Press for 10-15 seconds. For cold peel film, remove the film immediately after pressing; for hot peel, wait a few seconds until it's cool enough to touch. Peel the film smoothly in one motion. If any part of the design lifts, press again for a few seconds.
Common DTF Problems and How to Fix Them
Even with the best equipment, issues can arise. Here are some common problems and their solutions.
- Design peeling after wash: This usually means insufficient pressure or time during pressing. Increase pressure or press for a few extra seconds. Also, ensure the powder was fully cured.
- Patchy or faded prints: Could be due to a clogged printhead or low ink levels. Run a printhead cleaning cycle and check ink cartridges.
- Film jams: Make sure the film is loaded correctly and not too humid. Store film in a dry environment.
- Powder not sticking: The ink may have dried before powder application. Work quickly and apply powder immediately after printing.
Keeping a log of your settings and results can help you dial in the perfect parameters for your specific equipment and environment.
Finding DTF Transfers Near Me
If you're not ready to invest in your own DTF setup, you can still offer DTF prints to your customers by ordering from a supplier. Many companies provide a service where you upload your design and they ship you ready-to-press transfers. This is a great way to test the waters or handle overflow orders. When searching for dtf transfers near me, look for suppliers with good reviews, fast turnaround, and clear instructions. Some local print shops also offer DTF printing services, which can be convenient for last-minute needs. Just be sure to ask about their film type and pressing recommendations to ensure compatibility with your heat press.
Scaling Your DTF Business
Once you've mastered the basics, you can start thinking about scaling. Here are some tips to increase efficiency and profitability.
- Use gangsheets: Combine multiple designs onto a single large film to maximize your printer's output and reduce waste. This is especially useful for small orders.
- Standardize your process: Create a checklist for each step to maintain consistency and train helpers quickly.
- Offer samples: Send potential customers a sample print to showcase the quality. This builds trust and can lead to larger orders.
- Invest in automation: Consider a powder shaker and a conveyor curing oven if volume increases. These reduce manual labor and improve consistency.
Many successful DTF businesses start small and reinvest profits into better equipment. Keep track of your costs and pricing to ensure you're making a profit on each job.
Frequently Asked Questions
What fabrics can I use with DTF transfers?
DTF transfers work on a wide range of fabrics, including cotton, polyester, blends, nylon, and even leather. They are not recommended for fabrics with a heavy texture or coatings that might prevent adhesion, such as some water-repellent finishes. Always test on a scrap piece first.
How long do DTF prints last?
When properly applied, DTF prints can last as long as the garment itself. They withstand repeated washing without cracking or fading, provided you follow care instructions: wash inside out in cold water and avoid ironing directly on the print.
Can I print white ink with DTF?
Yes, white ink is a key feature of DTF printing. It allows for vibrant prints on dark garments. The printer uses a white ink cartridge, and the RIP software manages the white layer automatically.
Do I need special software for DTF printing?
Most DTF printers come with RIP software that handles color management and white layer generation. If you're using a converted printer, you may need third-party RIP software. Basic design software is sufficient for creating artwork.
How do I store unused DTF film?
Store DTF film in a cool, dry place away from direct sunlight. Keep it in its original packaging or a sealed container to prevent moisture absorption. Humidity can affect print quality and cause film to jam.
DTF transfers have opened up a world of possibilities for custom apparel decorators. Whether you're a hobbyist looking to make shirts for friends or a small business aiming to expand your product offerings, DTF offers a versatile, cost-effective solution. With the right knowledge and a bit of practice, you'll be producing stunning prints that impress your customers. So gather your supplies, fire up your printer, and start creating. The world of DTF is waiting for you.